Accessing the Creation Page
Navigation Path
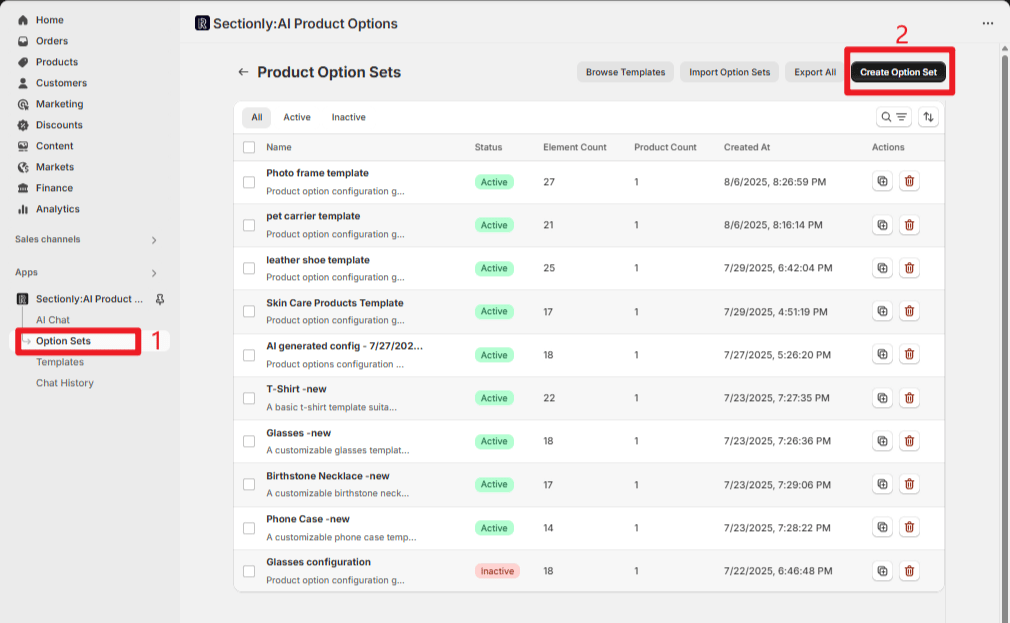
1
Enter the App admin dashboard
2
Select "Sectionly:AI Product Options"
3
Click "Option Sets"
4
Click "Create Option Sets"
Core Workflow
Adding Elements
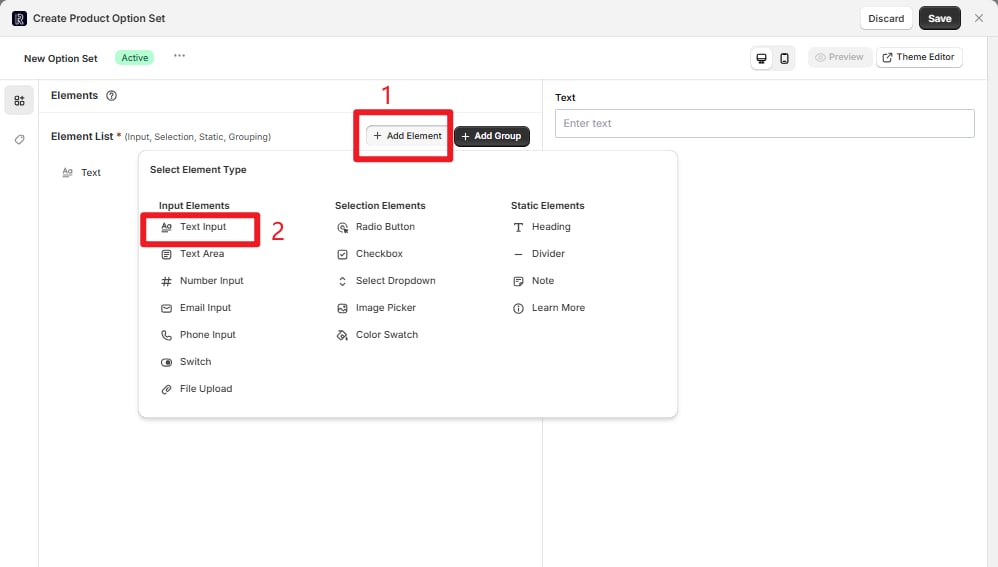
Click the ”+ Add Element” button and the system will display an element type selection menu with 3 main categories of different element types to choose from.
- Select Element Type
- Choose the desired element type from the popup menu
- For example: Click “Text Input” and the element will be immediately added to the list
- The preview area on the right will display the added element effects in real-time
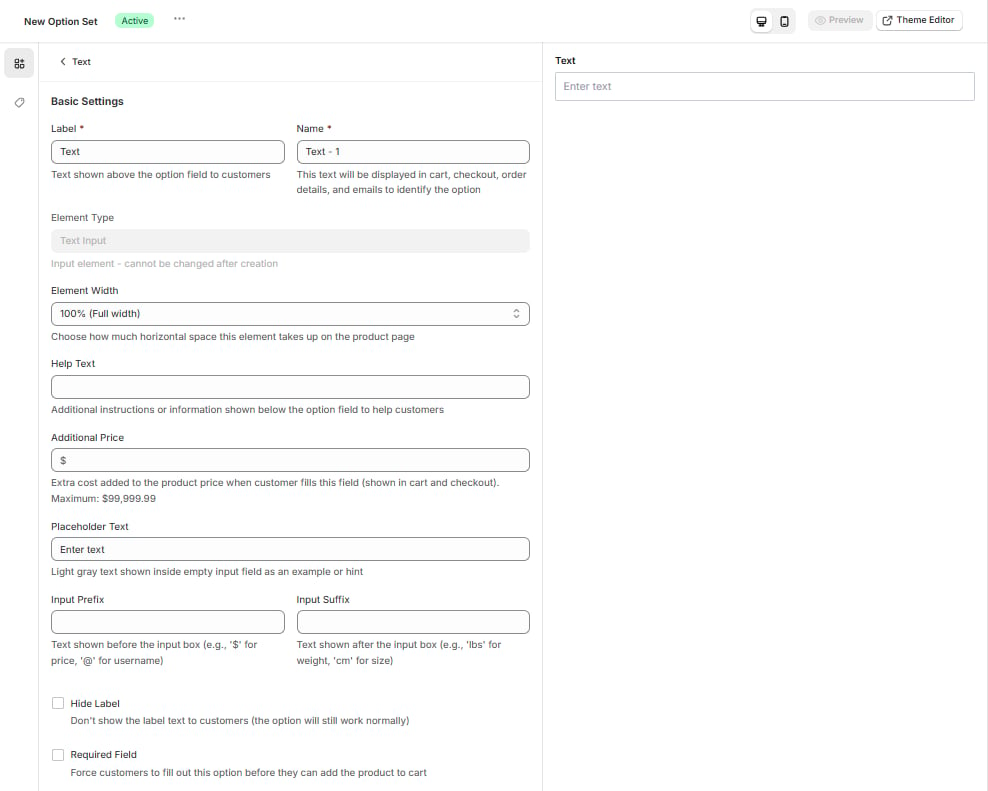
- Configure Element Properties
- Configure each element’s settings according to your specific needs
- For detailed configuration options, please refer to the related documentation
Group Management
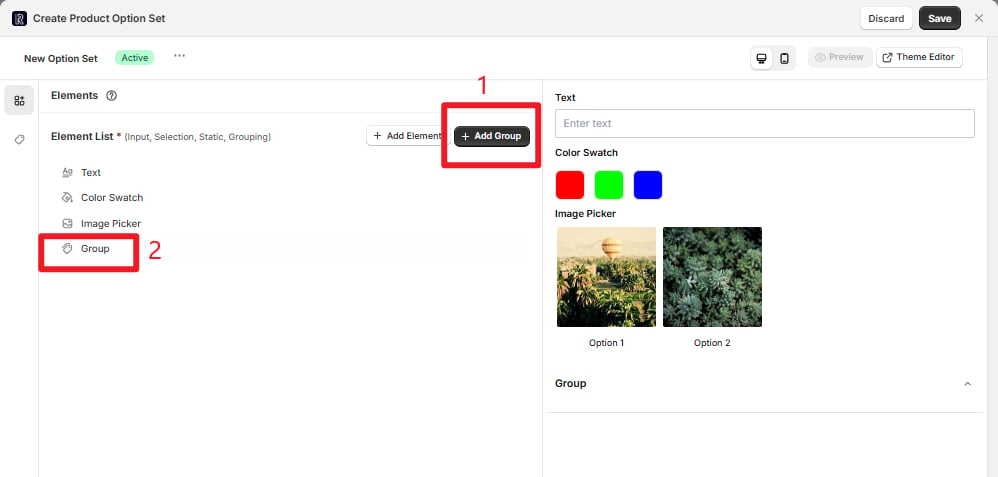
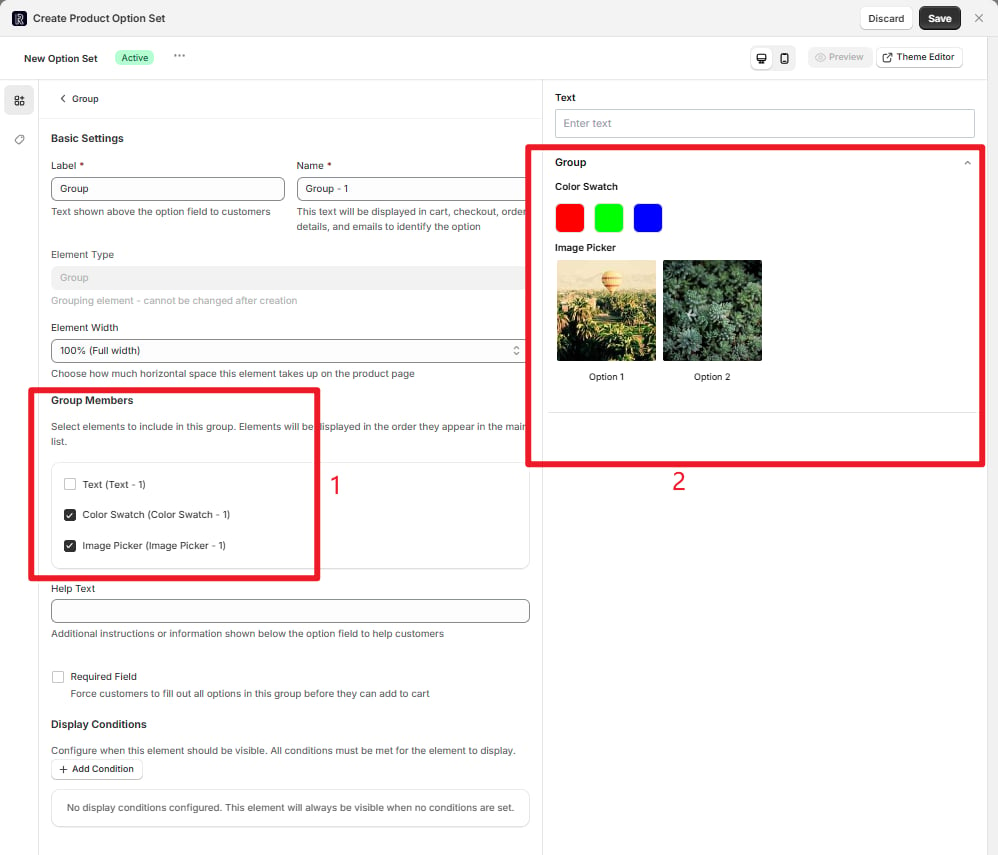
The grouping feature helps you better organize related elements and optimize frontend display logic.1
Click "Add Group" to add a group element
2
In "Group Members", check the elements you want to include in the group
3
Elements will be displayed in the group according to their order in the main list
Option Set Application and Settings
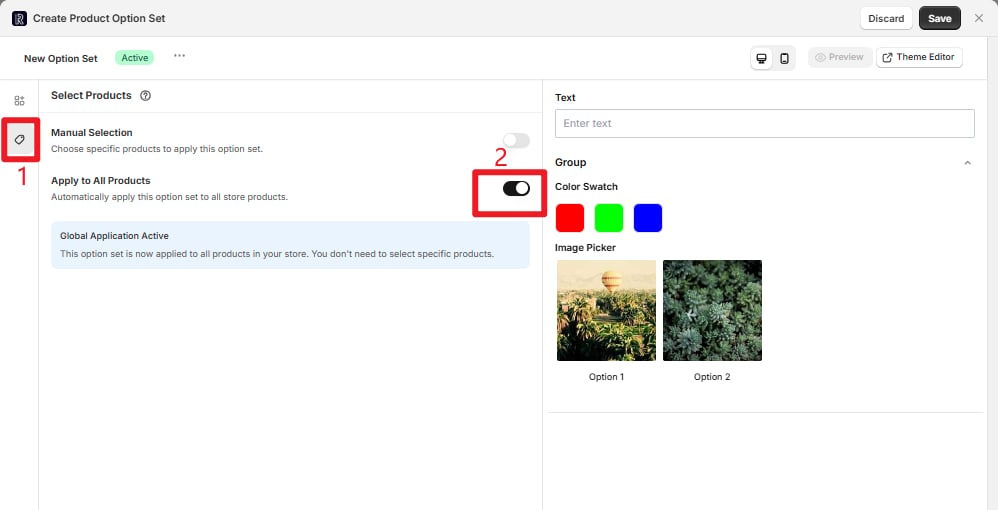
Product Application Scope
- Manual Selection
- Apply to All Products
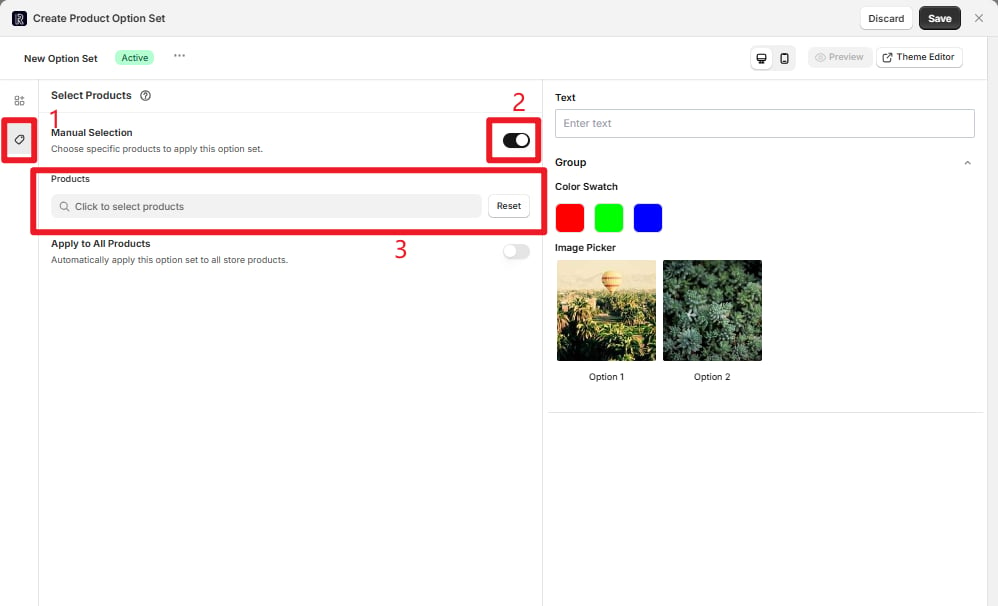
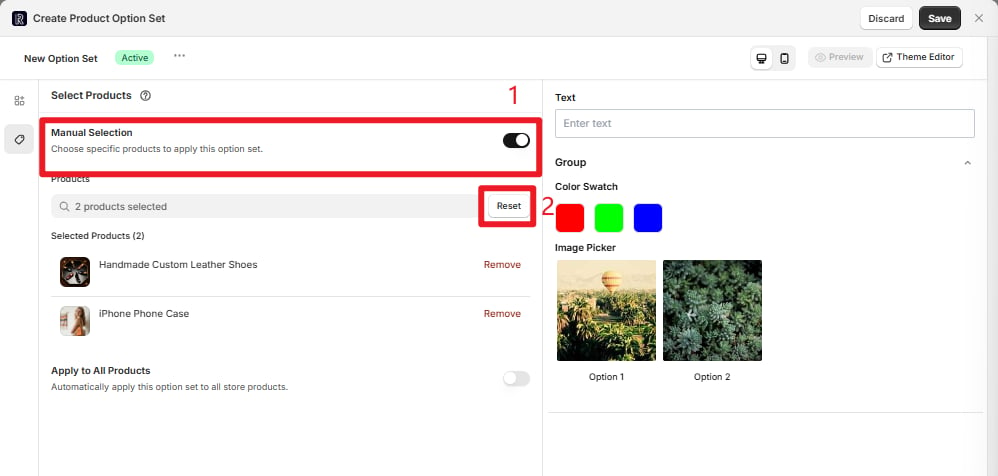
Manual Product Selection
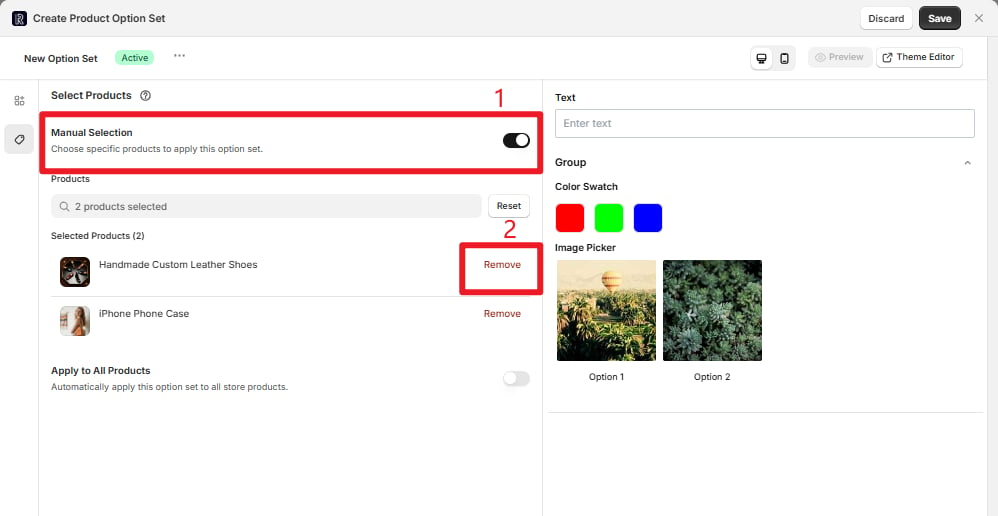
- Enable the “Manual Selection” toggle
- Click “Click to select products” to search and select target products
- Each product has a “Remove” button on the right to individually remove unwanted products
-
Click the “Reset” button to clear all selected products at once and replan the application scope
Basic Information Configuration
1
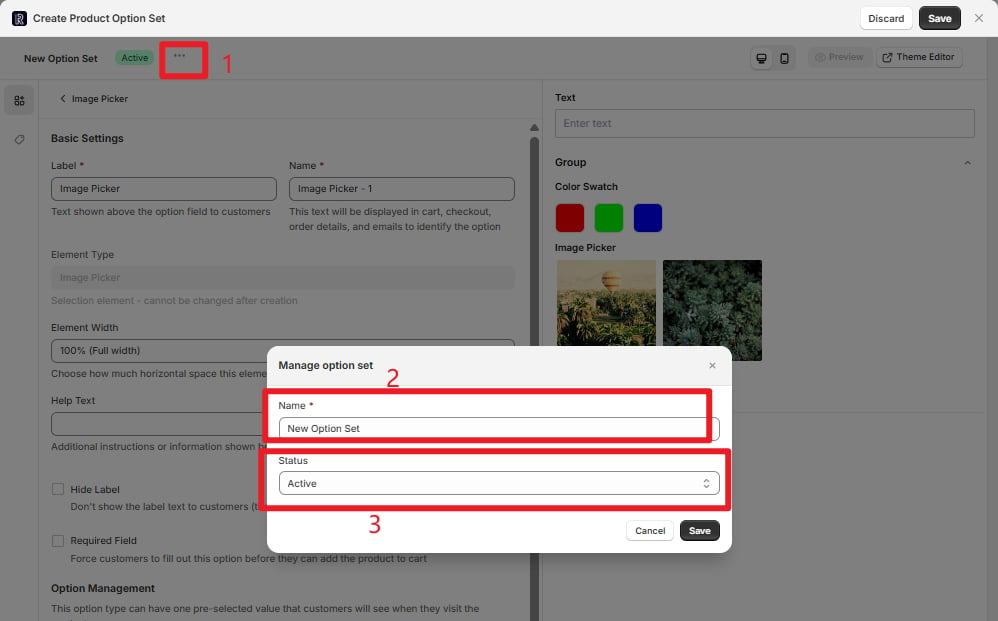
Click the "⋯" button next to "New Option Set"
2
Modify the option set name in the popup window (e.g., "Summer T-shirt Customization")
3
Select status:
- “Active”: Enabled, can be applied to products
- “Inactive”: Disabled, temporarily not applied
Top Action Buttons
Discard
Discard
Abandon current configuration, close the popup without saving any changes.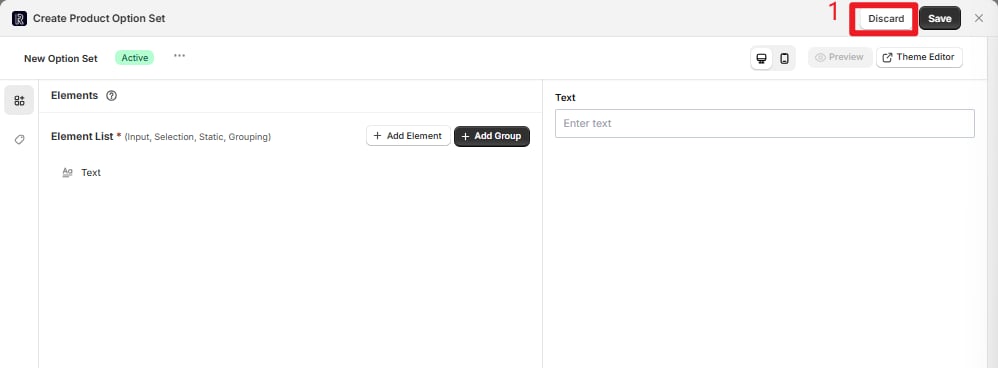
Save
Save
Save current configuration without closing the configuration popup, allowing continued adjustments.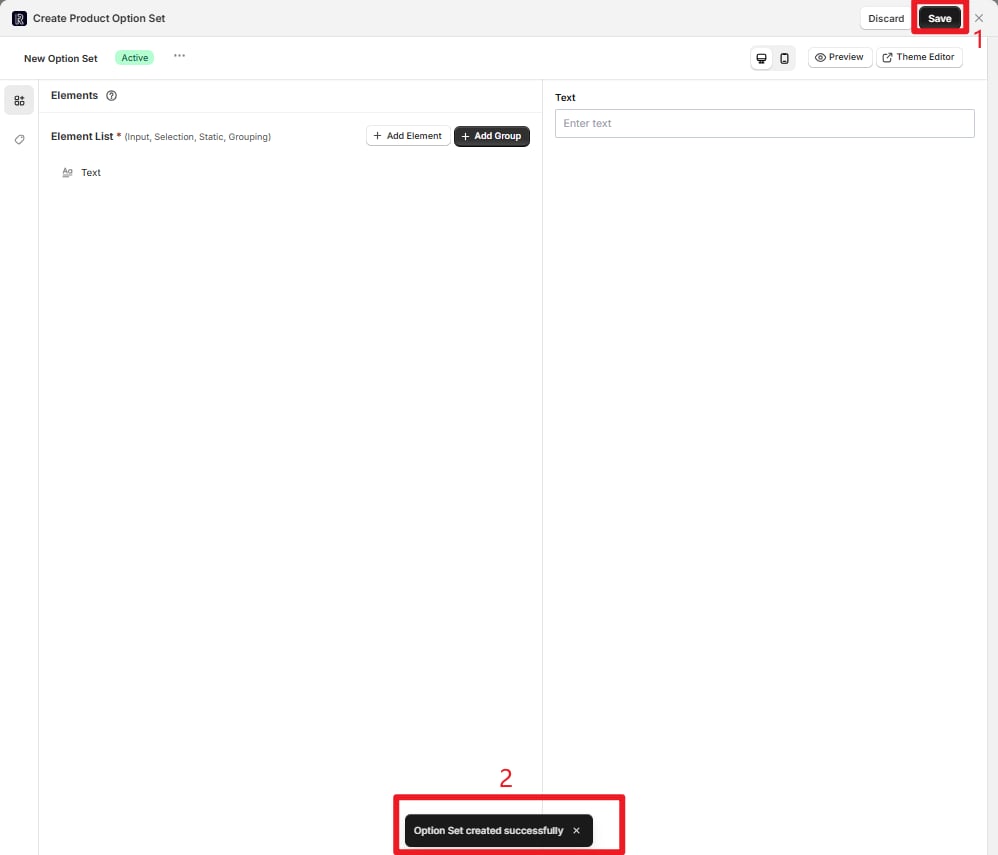
Preview Mode
Preview Mode
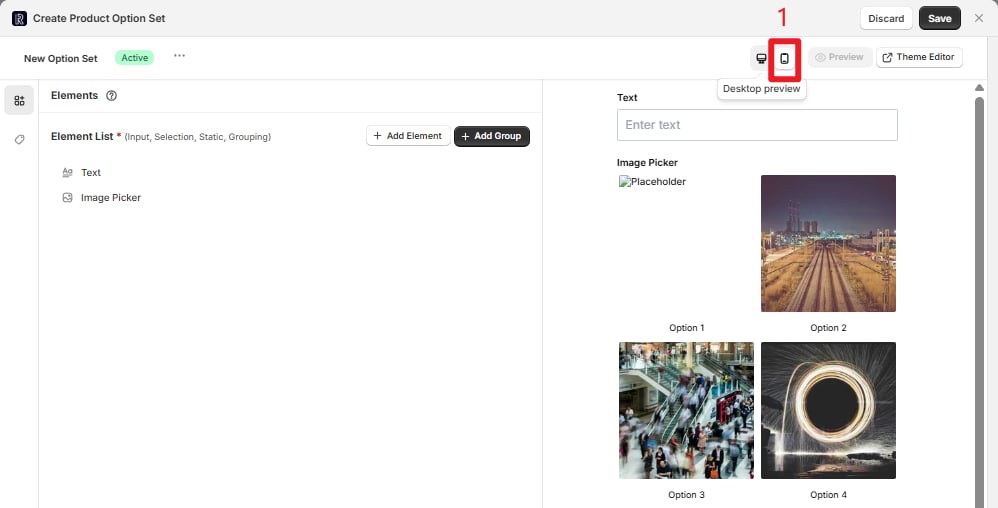
Desktop Preview:
Click the PC icon and the preview area on the right displays the desktop layout effect.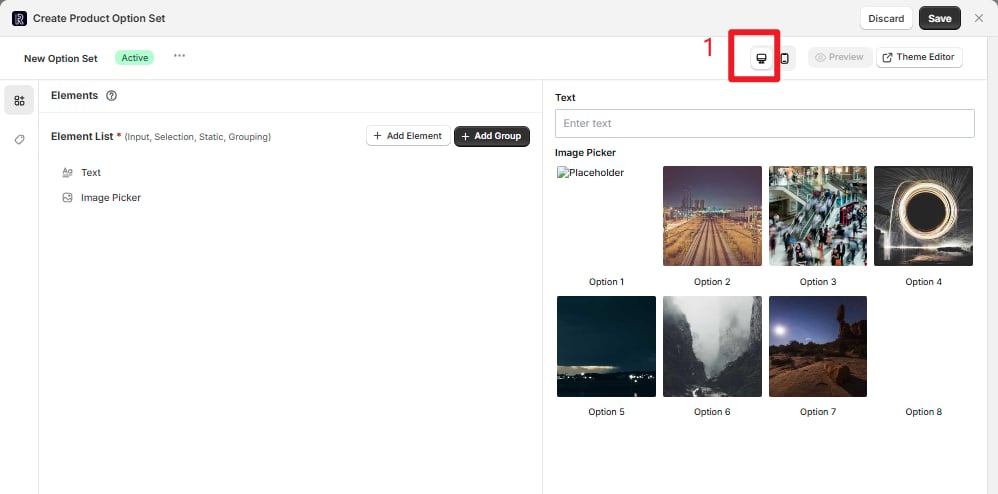
Theme Editor
Theme Editor
If you haven’t configured App Block embedding and other display settings in the theme editor, or need to fine-tune how the option set displays in your store theme (such as position and style adaptation), click the “Theme Editor” button to quickly jump to the Shopify online theme editor.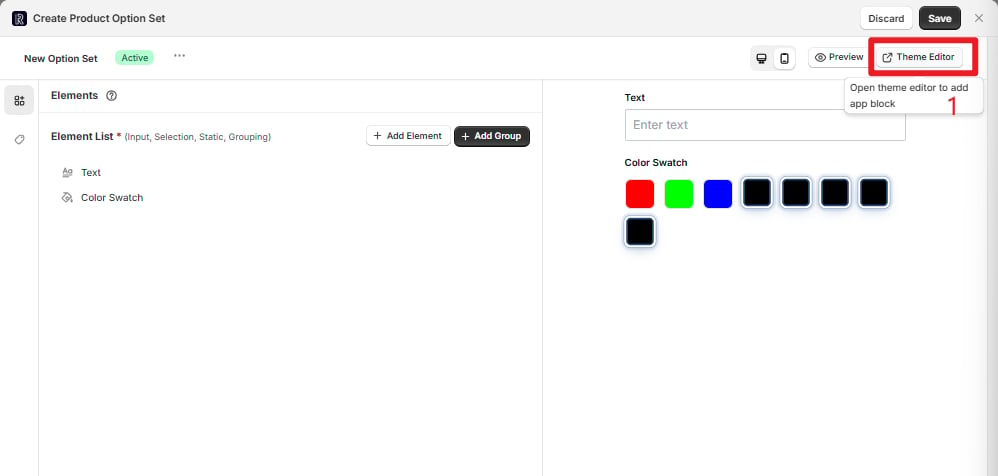
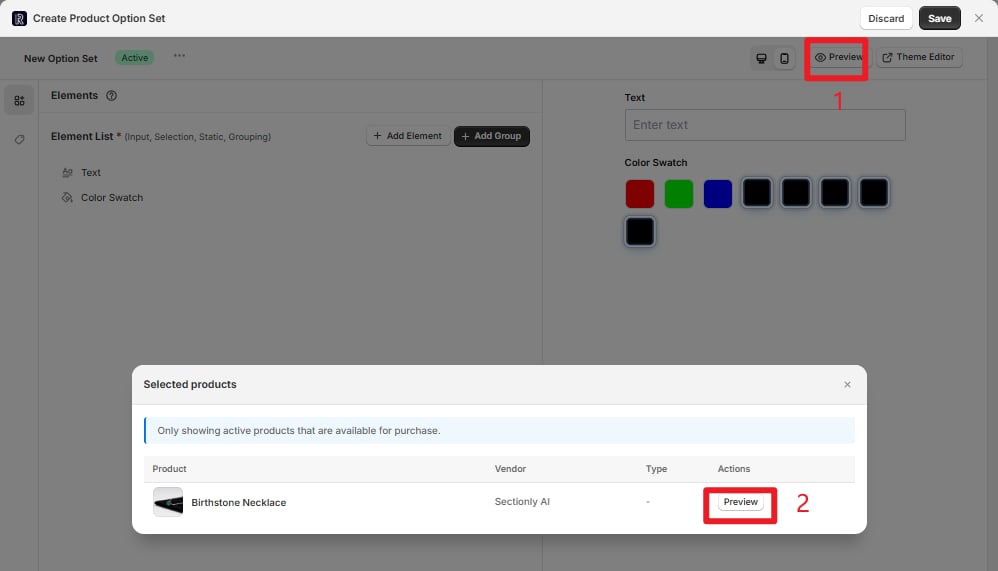
Preview (Validation)
Preview (Validation)
Click the “Preview” button to open a dedicated popup that only displays products where the current configuration is actually applied. Click “Preview” next to a product to jump to the frontend detail page and validate the configuration effects.